How do I add Checklists?
WEB UI Workflow for Creating a Checklist
Step 1: Login at https://app.www.aloft.ai, select the appropriate account name to operate under.
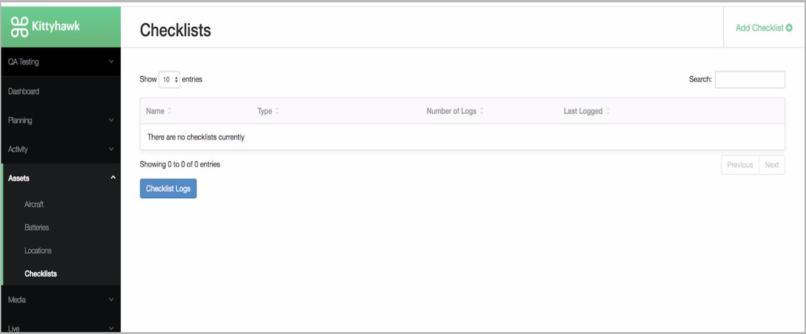
Step 2: From the main dashboard click on Assets, then Checklists. In the top right corner click Add Checklist.
Step 3: Give your Checklist a name and select a checklist type from the dropdown menu.
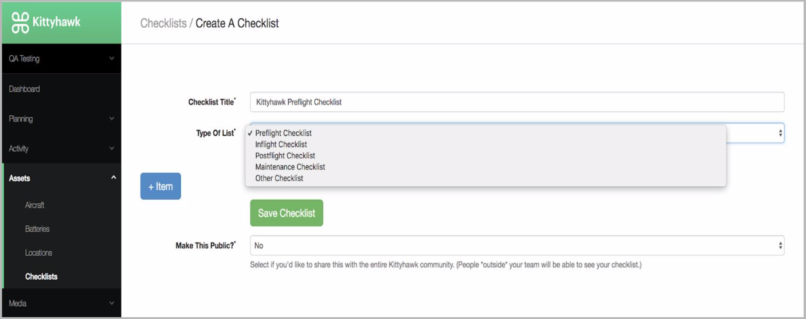
Step 4: C lick +Item to add a new item to your checklist. Use an overview statement for the Item Title, then provide a more detailed summary of the actions to perform for each item in the box below.
Note: Do not use special characters ; or : in your titles or summaries
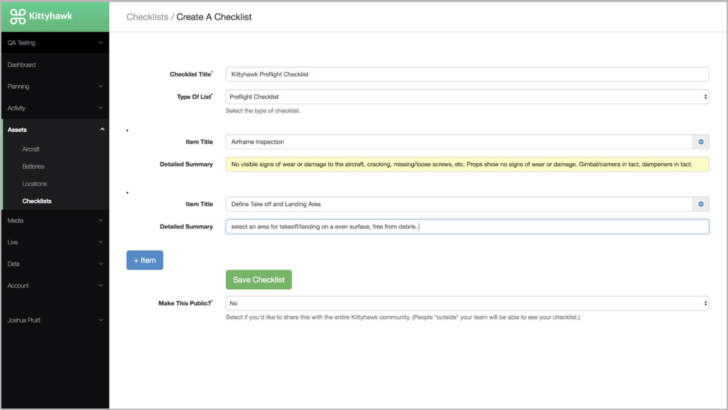
Step 5: Hit Save Checklist, you will be returned to the Assets > Checklist page where you can view your newly created checklist. From this screen you can edit, print, run, add new, or remove a checklist.
Mobile UI Workflow for Creating a Checklist
Step 1: Open Aloft (formerly Kittyhawk) App and log in. Tap Assets, then tap Checklists. In the top right corner, tap + to create a new checklist.
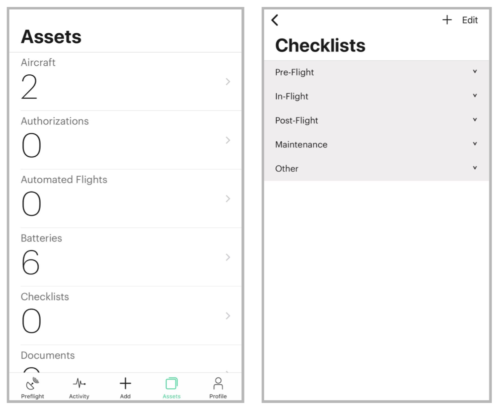
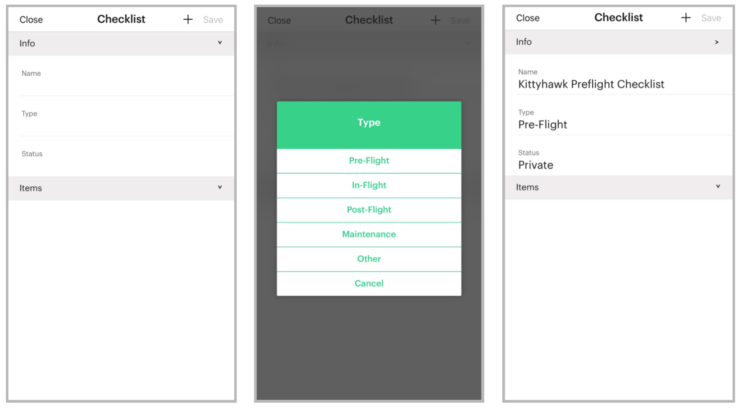
Step 2: Give the checklist a Name, select the type of checklist (this will filter your checklists into categories under Assets > Checklists). Tap + in the top-right to begin adding items to your checklist.
Adding items to your Checklist
Step 3: Give your Title an overview descriptor ( do not use : or ; ). Add more specific details in the Description box, and tap Add. Repeat the process by adding as many items as you require. Tap Save once you’ve added all of your checklist items to return to the checklists overview.
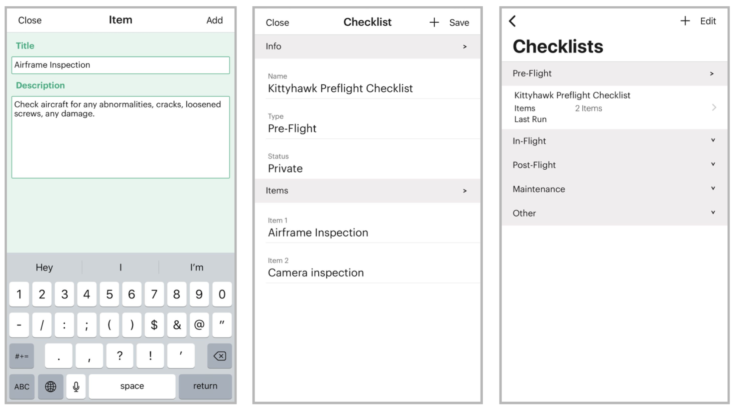
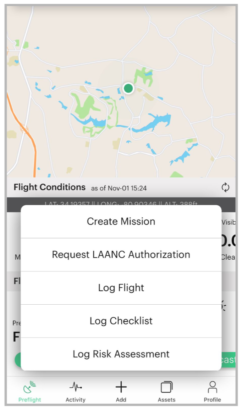
Step 4: To log a checklist, tap + Add on the Preflight screen to go to the Checklists overview page, select a category, and your checklist to begin. You can also link the checklist to an aircraft, missions you’ve previously created, and add additional notes (ex: weather conditions, specific notes about take-off/landing zone, any interactions, or additional personnel present).
